
Enhance your Ad Badger experience with tags!
Ad Badger's tagging feature allows you to categorize and organize your advertising entities efficiently. Easily track, filter, and manage your portfolios, campaigns, ad groups, keywords, negative keywords, and product ads with customizable tags, ensuring you stay organized and maximize your PPC performance.
Ready to optimize your ad management? Here’s a quick guide on how to use tags in Ad Badger!
Add a Tag
- Navigate to the Ad Manager to any of the following entities: portfolios, campaigns, keywords, campaign negative, negative keywords, negative targets, or product ads. Basically, everything except search terms can be tagged. We will be using the "Keywords" section for our examples.

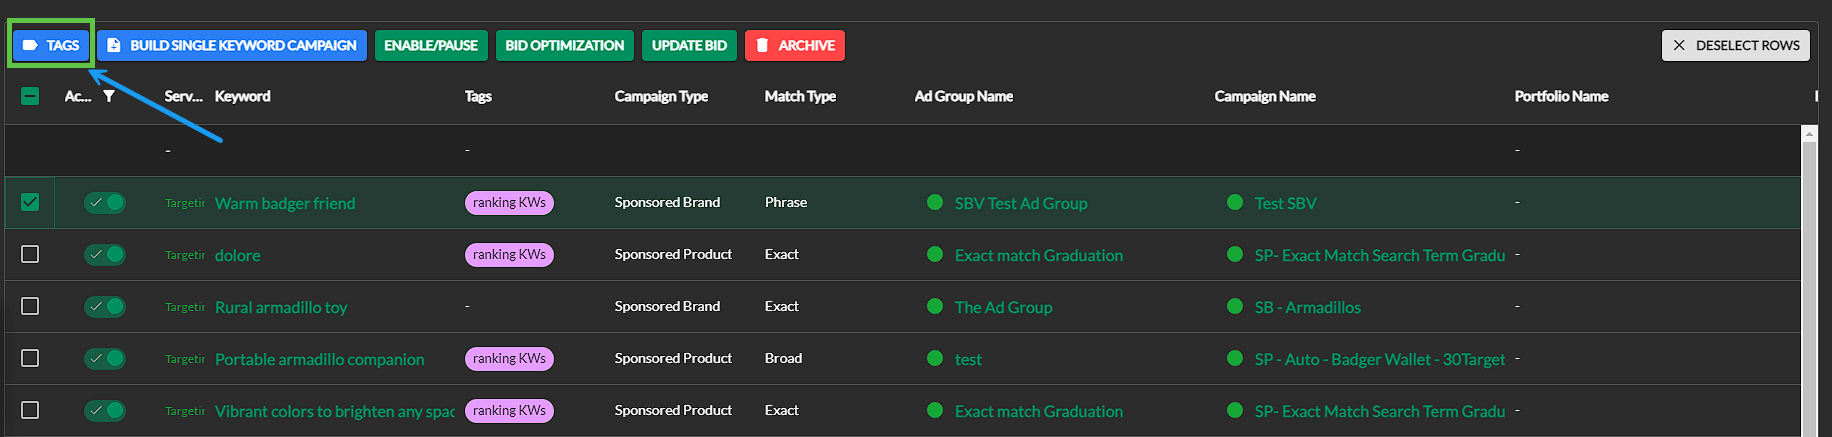
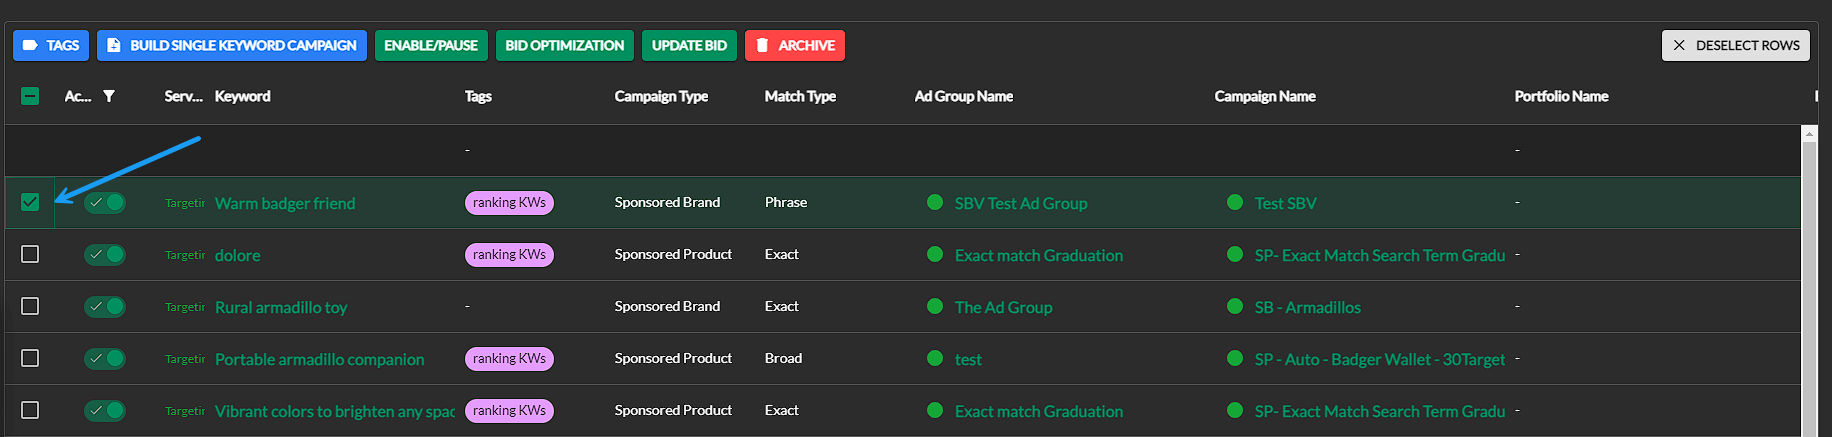
- Select one of the entities (keywords) by clicking the check box next to any of the keywords.

- Then, click the "TAGS" button.
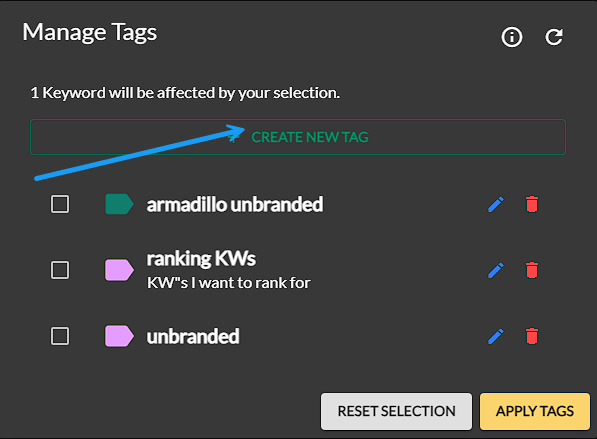
- The "Manage Tags" screen will appear on your screen. To Create a new Tag click "Create New Tag".
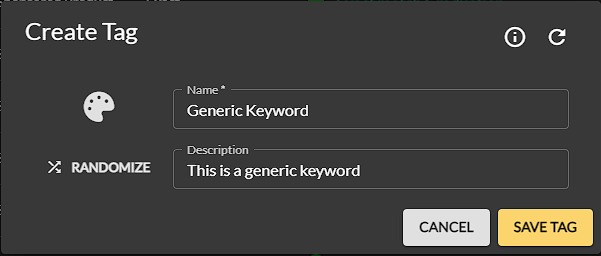
- Choose a Name and add a description if you would like. The Description field is not mandatory.
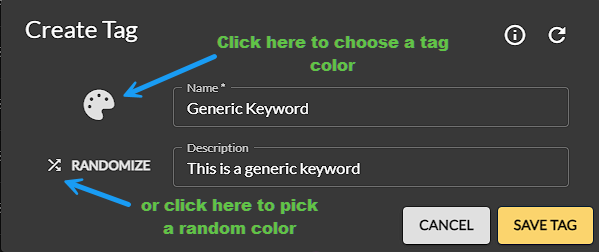
- You may also choose a color for the tag by clicking on the palette button OR use "Randomize" to pick a random color for the tag.
- Once you have added a name you can click "Save Tag" and the tag will be saved and added to your list of tags. These tags can be used in any of the Ad Manager sections where tagging is available.
Apply a Tag to an Entity
- To add a tag to an entity, first select the entity you wish to tag using the checkbox to the left of the item.
- Then, click the "TAGS" button.
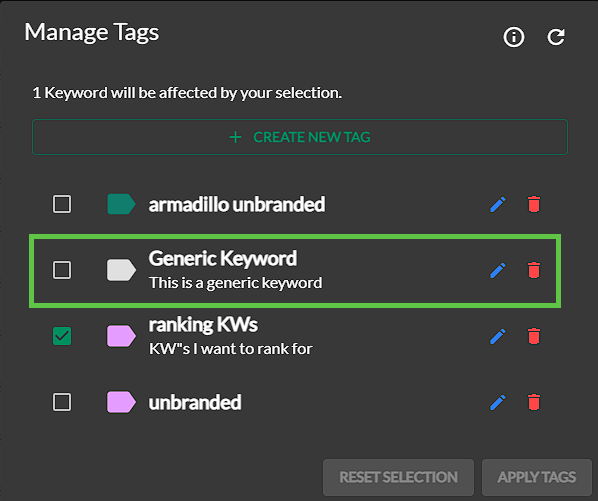
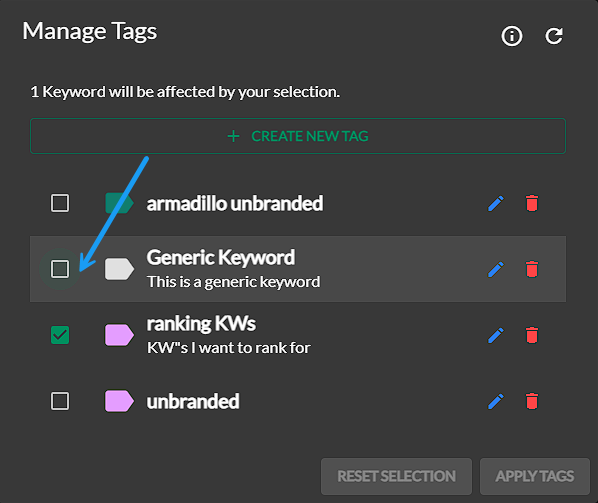
- Click the checkbox next to any of the tags that you wish to apply to the entity (a keyword in this case). You may choose as many tags as you wish here.
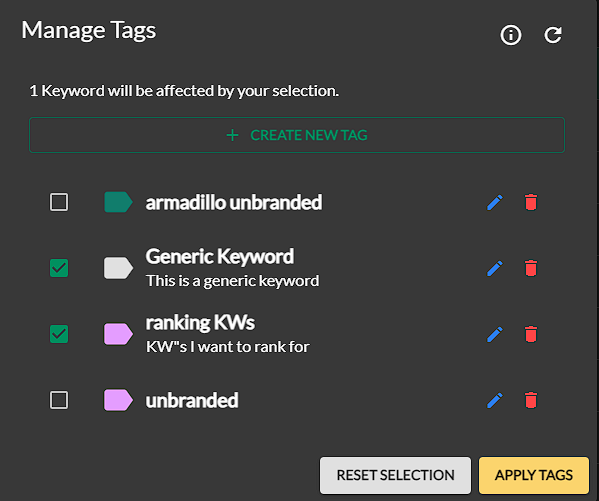
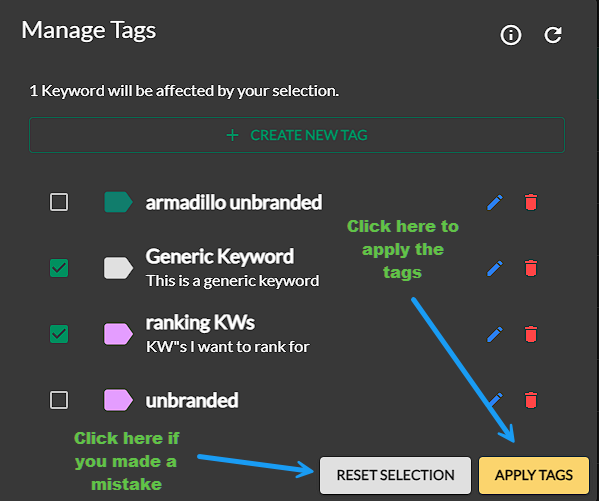
- Finally, click "Apply Tags" to apply these tags to the entity. Alternatively, if you have chosen tags in error you can click "Reset Selection" instead and the tag selection will return to the original choices from before you made any changes.
- Congratulations! You have successfully applied your first tag.
Detach a Tag
- To detach a tag from an entity, first select the entity you wish to untag using the checkbox to the left of the item.

- Then, click the "TAGS" button.

- Click the checkbox next to any of the tags that you wish to detach from the entity (a keyword in this case). This will remove the checkbox
- Finally, click "Apply Tags" to detach these tags from the entity. Alternatively, if you have detached tags in error you can click "Reset Selection" instead and the tag selection will return to the original choices from before you made any changes.

- The tags have now been detached from the keyword.
Edit a Tag
- To edit a tag, first select any entity to bring up the "TAGS" menu.
- Then, click the "TAGS" button.
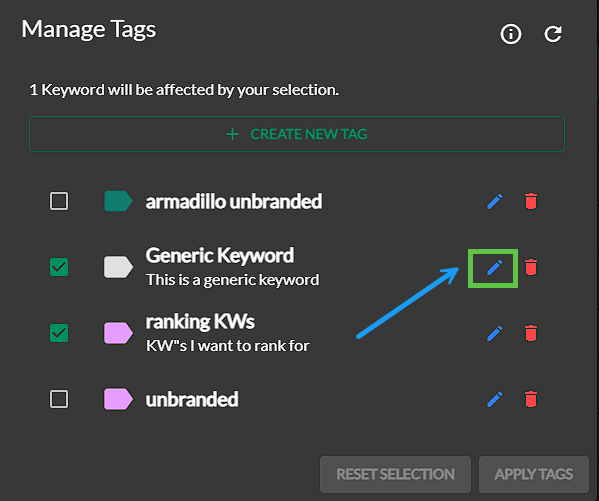
- Choose the tag you wish to edit and click the "pencil" icon next to it.
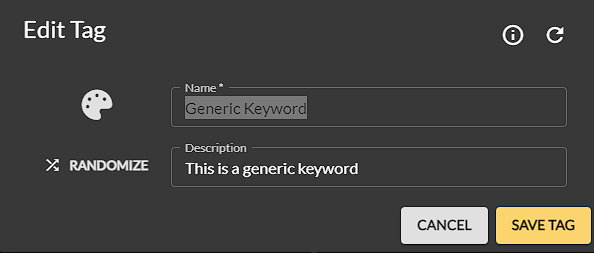
- This brings up the "Edit Tag" screen. From here you can change the name of the tag, the description or the color. This is done the same way as in the first section titled "Adding a Tag".
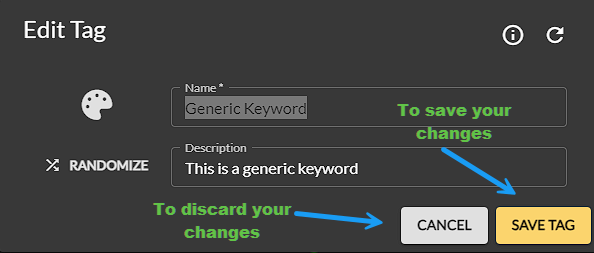
- Once you have made your changes click "Save Tag". If you made a mistake just click "Cancel" and all of your changes will be discarded.
Delete a Tag
- To delete a tag, first select any entity to bring up the "TAGS" menu.
- Then, click the "TAGS" button.
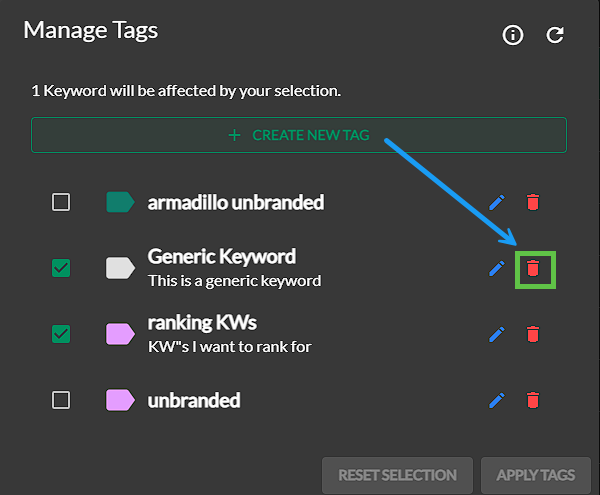
- Click the "Trash can" icon next to any tag to delete that tag. This will delete the tag and remove it from all entities.
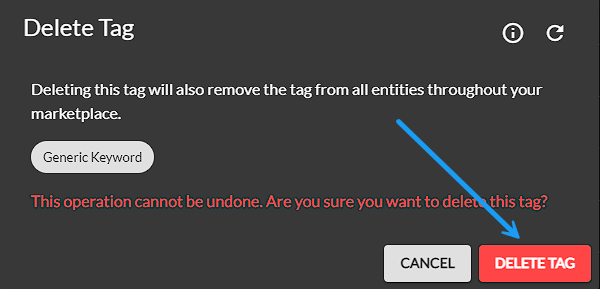
- When you click the "trash can" icon another screen will come up with a warning "This operation cannot be undone. Are you sure you want to delete this tag?". Be sure you wish to remove this tag from all entities in the app before proceeding. If you are certain you want to do this click "Delete Tag".
- Task complete. The tag has been deleted and removed form all entities in the Marketplace.
Filter by Tag(s)
You may have noticed by now that there are tags showing in the table. These tags are a powerful way to organize your data and streamline your workflow. Now, I'll explain how you can filter by tags to quickly find exactly what you're looking for, making your ad management even more efficient.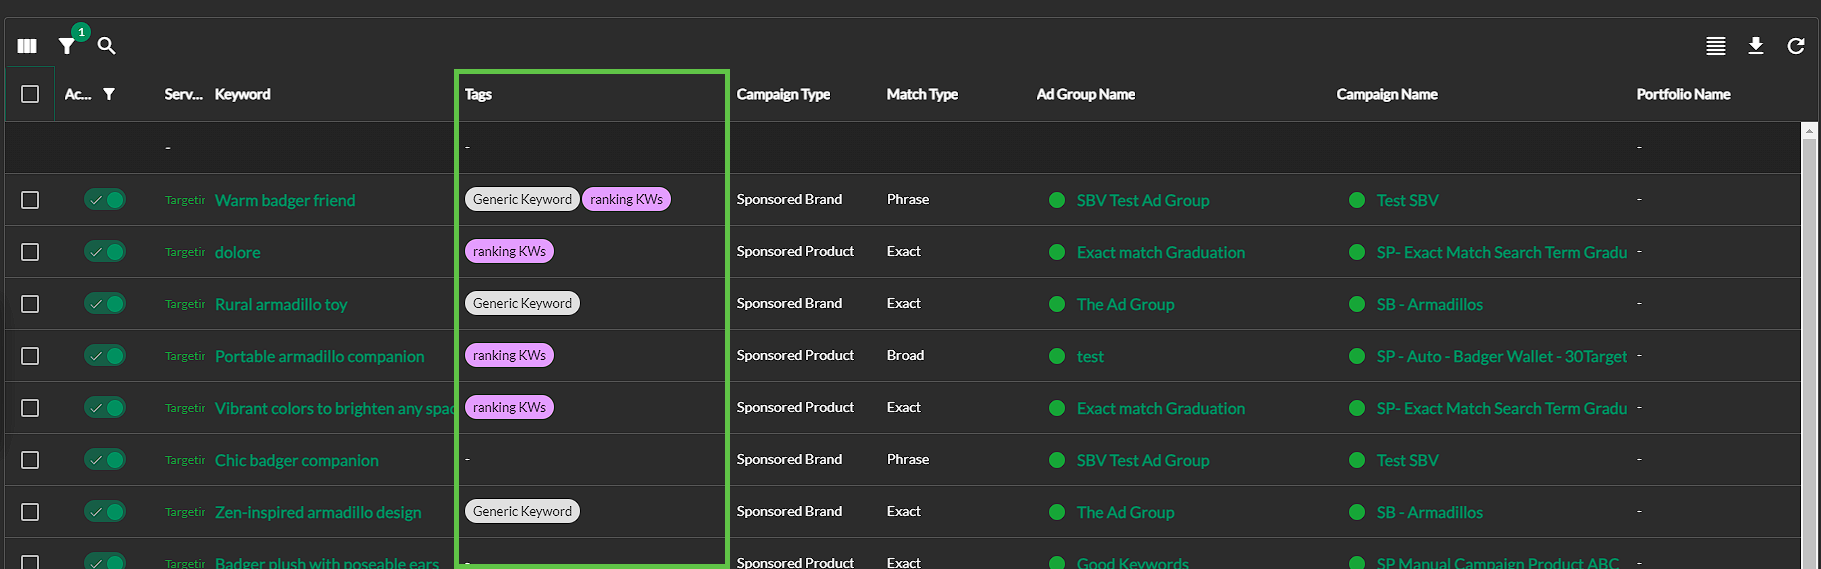
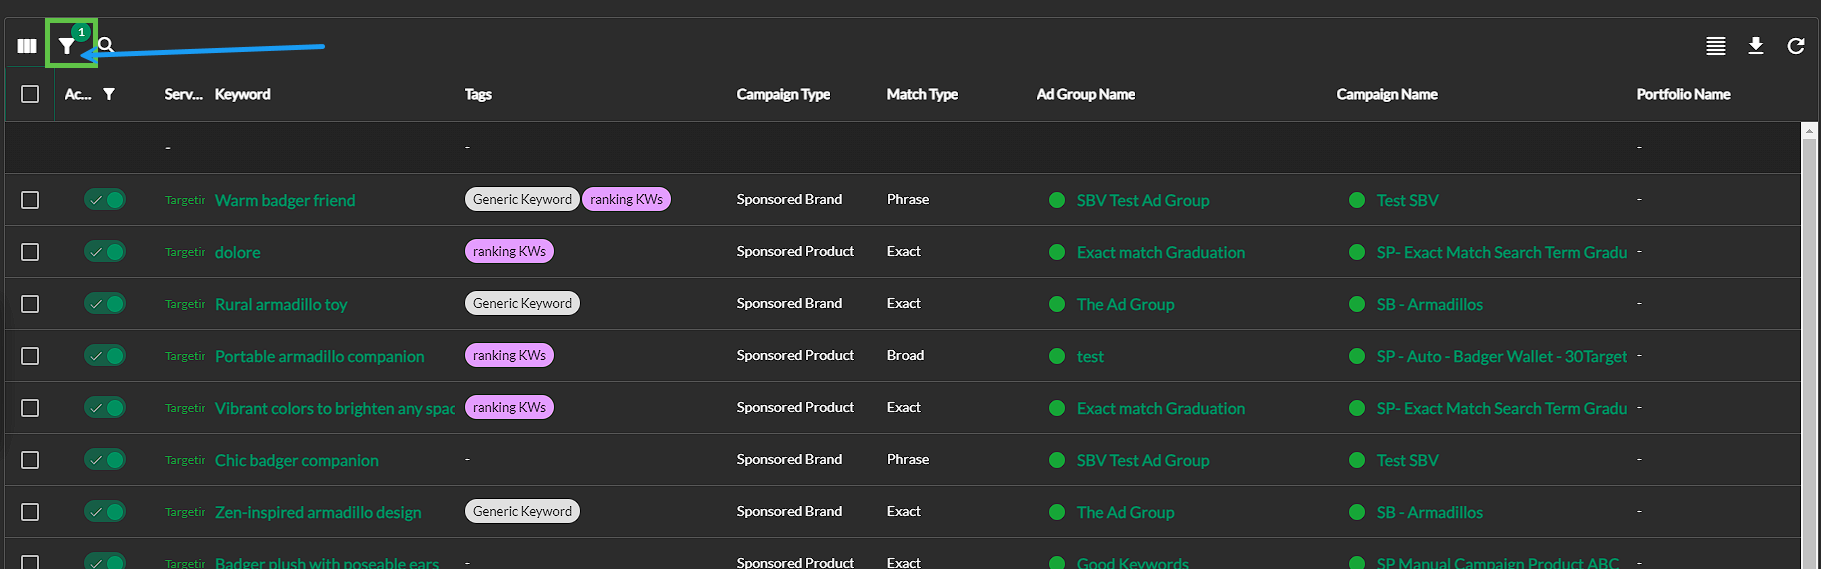
- Click the "Filter" button from the Ad Manager screen that you are using.
- From here, choose the Column called "Tags". Then, select an Operation. You have two choices here: "Is any of" and "Is empty".
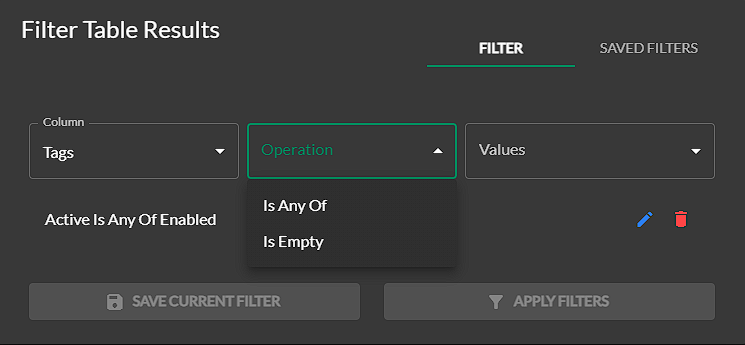
- If you choose "Is Empty" this will filter your results down to everything that DOES NOT have a tag. Alternatively you can choose "Is any of" and pick one or more tags to filter your results by. Choose the values you wish to filter by.
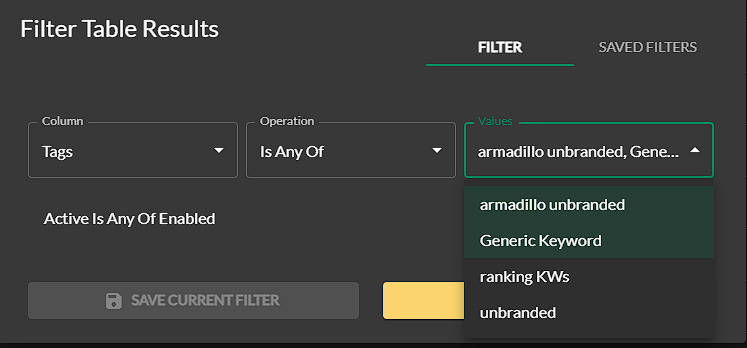
- Click "Add Filter". You can also choose to add other filters at this time. Once you have made your selections, click "Apply Filters".
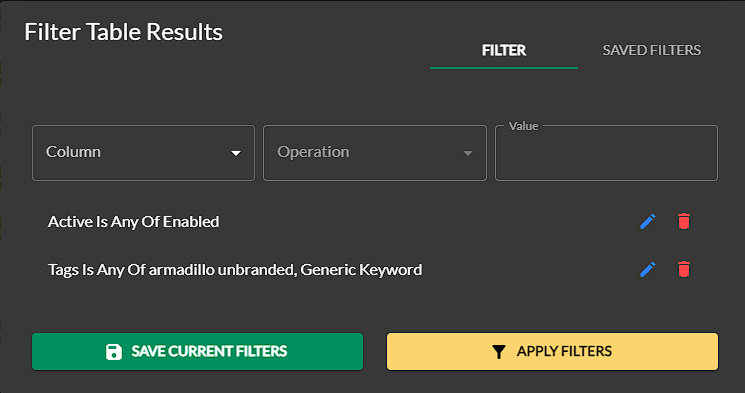
- And now your table will show you the results that you specified in your filter selections.

In this guide, we've explored how to effectively manage tags within Ad Badger to optimize your PPC campaigns. Starting with Adding a Tag, we've walked through the basics of assigning tags to your entities, enhancing your organizational capabilities. We then covered how to Apply and Detach a Tag to an Entity, ensuring you can swiftly update your tagging as needed.
Next, we discussed Editing a Tag to maintain accuracy and relevance in your tagging system, followed by instructions on Removing a Tag and the process for completely Delete a Tag when they're no longer needed. Finally, we wrapped up with steps on Filtering by Tag(s), allowing you to efficiently sift through your data to find exactly what you need.
By mastering these steps, you’ll be able to leverage the full power of tags to keep your ad campaigns organized and running smoothly. Happy tagging!